 |
||||||
|


 |
1)
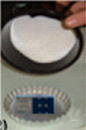
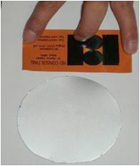
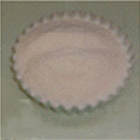
The transfer-label, equipped with a pressure sensitive adhesive layer,
is simply applied onto the mold-surface. Ensure that
the label is in good contact with the metal avoiding rubbing the
graphic.
|
 |
|
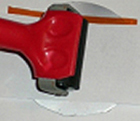 |
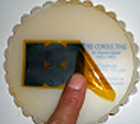
2) Use the provided roller to enhance adhesion between label and mold surface. The provided protection paper is positioned between the roller and the label while pressing (the shiny side touching the label). For best results move the roller in one direction (as many times as needed). Make sure that edges are well attached on the mold.
|
|
 |
 |
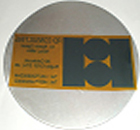
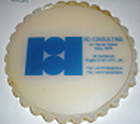
4) Once the molding cycle is completed. The clear transfer-label is then peeled off the product, leaving the graphic into the product.
|
 |
|